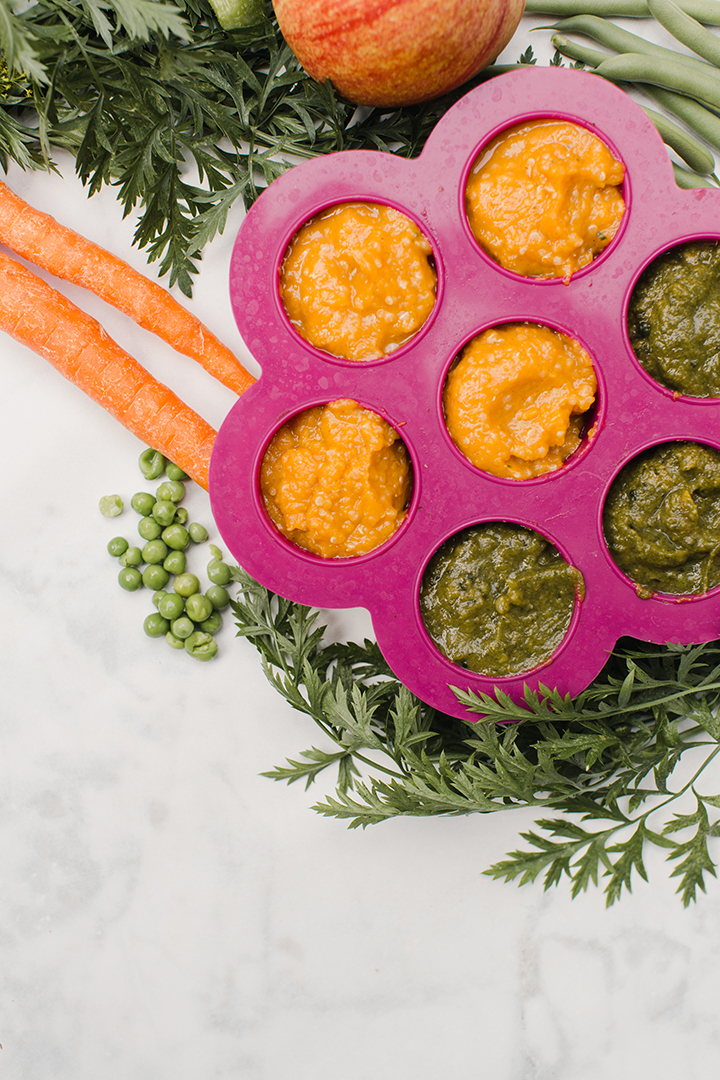
7 Recipe Ideas for Making Homemade Baby Food
Today I’m going to share with you my experience with making our own baby food, the process behind how we batch out baby food for weeks, and what I’ve learned along the way. I also have 7 recipe combinations that you can try with your little eater.
Before you know it that sweet little peanut will be ready for more than just milk and as mama bear you will want to provide the best for your little nugget!
Making homemade baby food is so much easier than you might think!
Making homemade baby food can be as simple as steaming some extra veggies with dinner and mashing them with your fork. I prefer to batch make our baby purees so we can simply reheat as needed for each meal.
Nutritious baby food is so much easier to find today and if you don’t have the time to make baby food or prefer to keep things simple there are some great options in the grocery stores. I know that making your own baby food isn’t for everyone and at times it is way more convenient to carry shelf-stable food with you when you are out of the house or traveling.
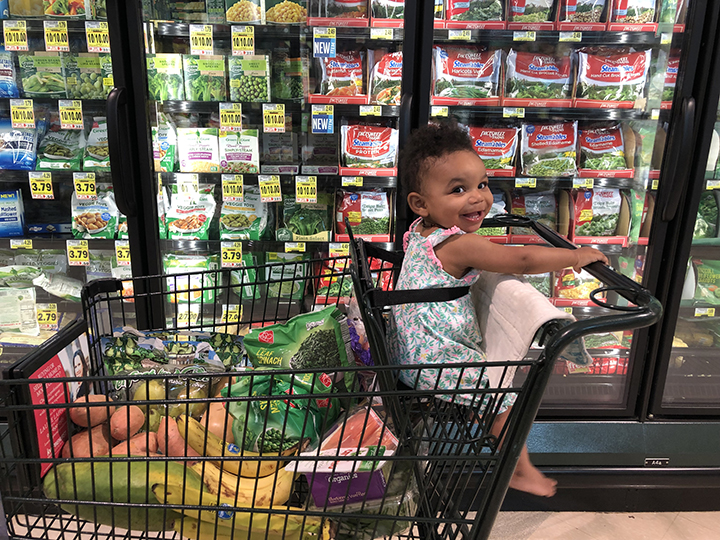
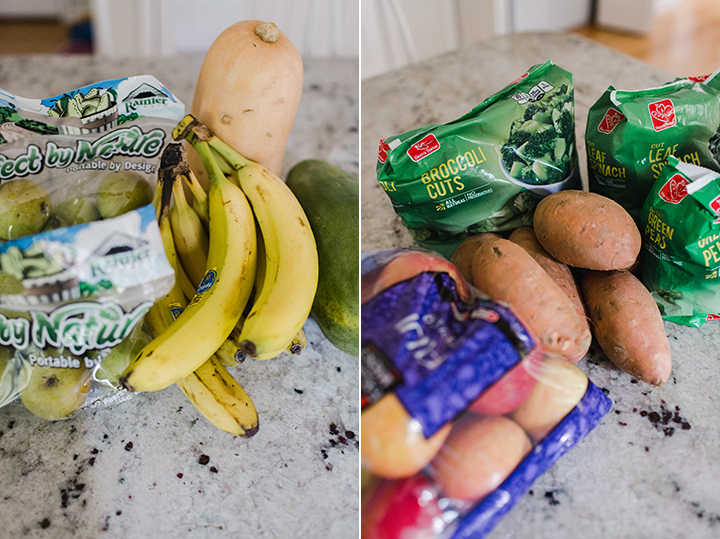
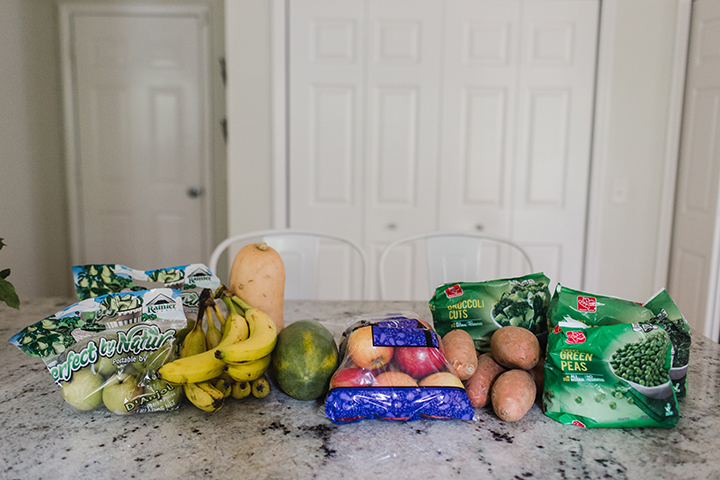
While it does take some time to batch prepare your baby’s food (if you choose to do it this way) you don’t have to be a professional chef to whip up some tasty options for your little one. I prefer batching as I only have to make a big mess in the kitchen 2-3 times to have enough food to last for months. By that time my baby has outgrown the puree food phase I’ve only had to batch a few times making this totally worth it.
As you consider making baby food here are some thoughts to keep in mind.
When you first introduce solid foods to your baby you will want to start with single foods before mixing foods together to identify if your baby has any intolerances. Once you’ve determined that they tolerate a handful of different foods you can experiment by combining different foods together.
Your baby may prefer a certain texture of food as they start to try solids and this preference may change over time. I found that mixing in dry baby cereal to my more liquid purees helped to thicken them up and bulk up the meal when my baby wanted something more substantial.
When preparing baby food in large quantities you will need to freeze the food you make. I prefer to freeze our food in large silicone ice cube trays as well as disposable baby food pouches. This allows us to have ice cube purees we can reheat whenever it’s meal time and we can take the pouches with us on days we are out of the house. I always have some shelf stable options in the house (even if it’s simply applesauce) for whenever we are out of the house for longer stretches.
As much as I love the convenience of store-bought baby food it can be more expensive than preparing the food from scratch. They also tend to not be as nutritious as what you can make and may have added ingredients that really aren’t necessary when preparing fresh food.
So if you’re ready to dive in here are some supplies you will need.
- High Power Blender or Immersion Blender: I’ve used both depending on the type of food I’m cooking and the texture I need. The high power blender will be great for earlier ages as you can really thin out the puree for first foods. The immersion blender is less mess, in my opinion, and will keep your purees a little more on the chunky side for older eaters.
- Stovetop Pot or Pressure Cooker for Steaming: I prefer to steam my produce either on the stove or in the pressure cooker. Either one works great and you can have both going at the same time while you batch cook. You can also roast vegetables in the over for additional flavor.
- Knife and Cutting Board: It’s easiest to cook your food if it’s cubed. You will also want to peel, core, or pit any fruit or vegetables as needed.
- Silicone Ice Cube Trays: Once you have your food to the texture you want you can fill up these large silicone ice cube trays and freeze your food. I take it a step further and once frozen I pop out the cubes and store them long-term in gallon freezer bags with appropriate labeling and dates.
- Baby Food Pouches (optional): I also use disposable (or these reusable) baby food pouches so that I can take our homemade baby food on the go. You can leave these in the fridge to thaw or in a warm cup of water.
- Squeeze Station for Pouches: This device makes filling pouches SO MUCH easier! I love this neat little tool!
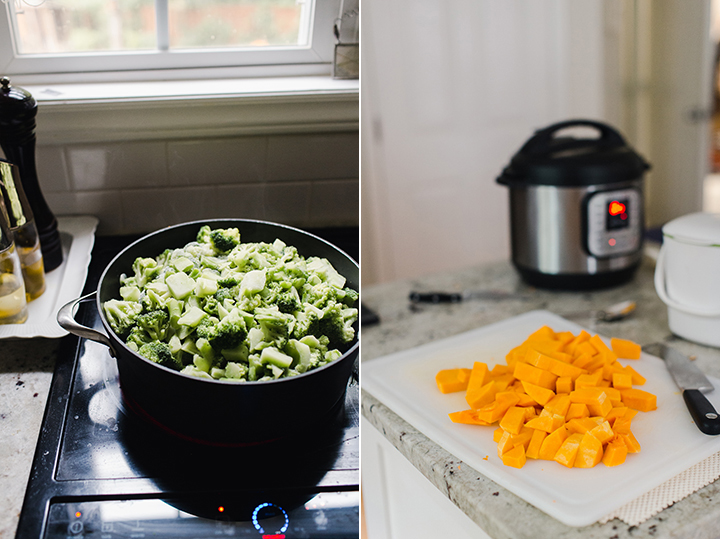
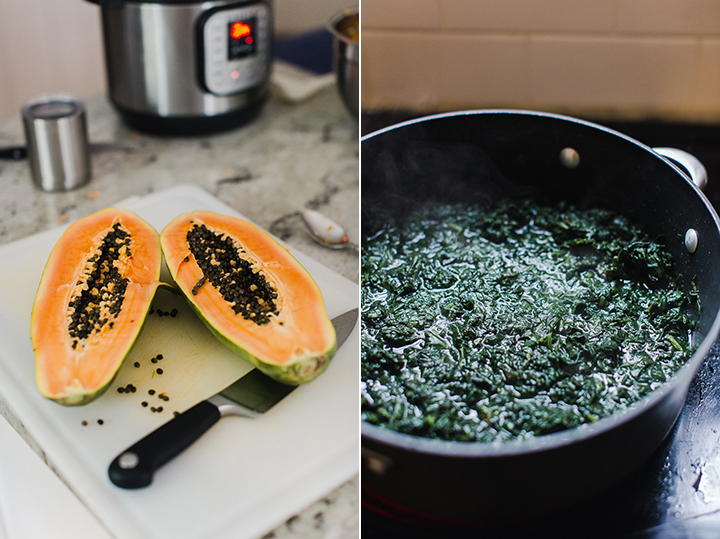
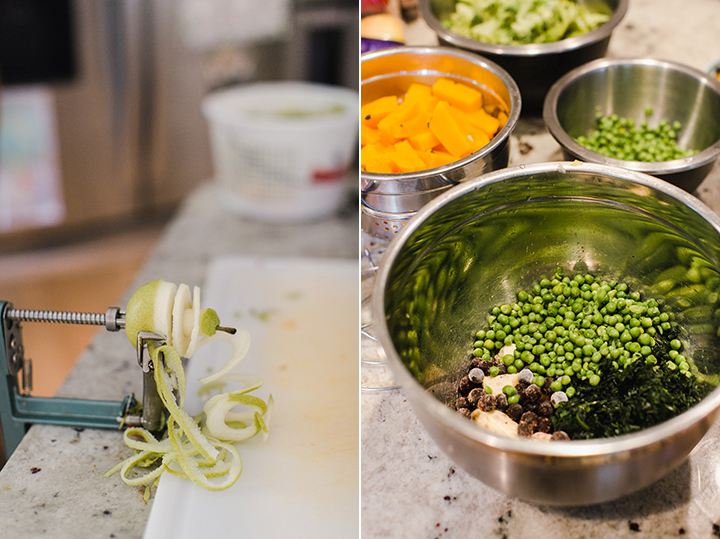
Steps to preparing, cooking, and storing your homemade baby food.
- To get started I peel, core, and cube any food that needs to be steamed or roasted.
- As the food is prepped I will steam or roast until everything is very soft. Then I will use my blender of choice to puree the food. I will add filtered water or broth as needed until I get the consistency I want.
- Finally, I will put my fresh puree into the ice cube trays or pouches, label them, and then into the freezer.
- To reheat simply take out the cube you plan to serve and leave it in the fridge to thaw for 1-2 hours. If you want to serve immediately you can put it in the microwave for 30-45 seconds. I will serve as is or sometimes mix in dry baby cereal to thicken the puree if needed.
Here are some tips to keep in mind.
I prefer to purchase frozen peas, corn, broccoli, and spinach as it’s easier to puree because it’s softer from frozen. Frozen vegetables or fruit can often have more nutrients than fresh produce that has been traveling over time to your local store. Frozen foods are frozen at their peak freshness.
Don’t be afraid to add spices to your homemade baby food recipes. Keep away from added salt and sugar, however, a sprinkle of garlic powder, cinnamon, or turmeric gives fun flavor while also providing a boost of nutritional benefits.
Once your baby is older you may find that simply roasting/steaming veggies and mashing them with a fork will give you a good consistency for your experienced eater. Also, some foods like apples, pears, or bananas might need little to no water to puree.
You can follow this process for meat as well. Make sure it’s steamed or roasted and then you will puree with additional liquid like water or broth. I’ve also added grains like cooked quinoa (I know technically not a grain) to my purees for added texture and nutrition.
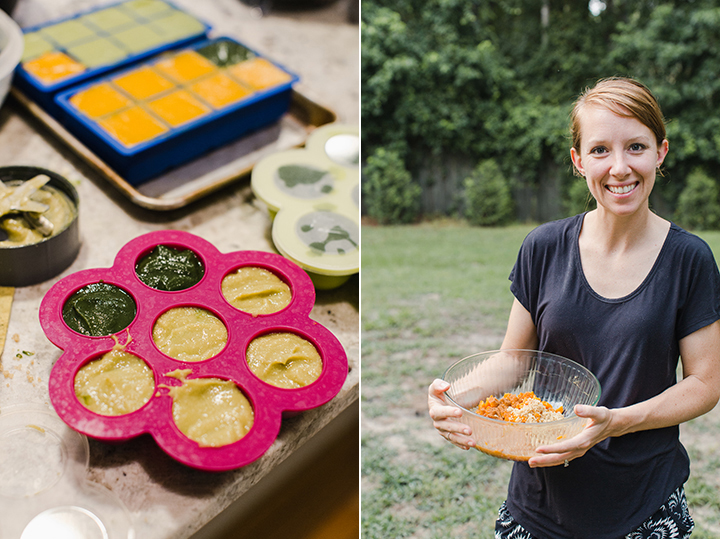
Once you’re ready to combine flavors I will typically place the combo of fruit and vegetables in a bowl together once they are cooked. Then I will blend them all together before storing them.
Here are some that we love in our family:
- Peas, Spinach, Banana, Blueberry
- Pear, Broccoli, Pea
- Papaya, Banana, Quinoa
- Apple, Sweet potato, Cinnamon
- Sweet potato, Quinoa, Banana
- Butternut Squash, Papaya, Pear
- Spinach, Apple, Blueberry
I hope these tips help you get started making your own homemade baby food! Personally I’d rather have a good stock of homemade food then stacks of jared food in my pantry. It saves space and money and it’s so much better for our little ones.
Leave a comment below and let me know what you’ve tried!
